
A solar wall light is an accent and task fixture, not a substitute for a street light. It marks an entrance, washes a facade, lights a step or gives a corridor a line of light. Because it is mounted on a wall at eye level, the two decisions that matter most are how high it sits and what the wall can carry. Get those wrong and the result is glare, a crooked fixture or a panel that never charges.
This guide covers mounting height by use, wall-material fixing, glare control and the model ladder from our ZC-BD range. It is an installation guide, not a structural survey: the fixing must be chosen for the actual wall build-up and the local wind load.
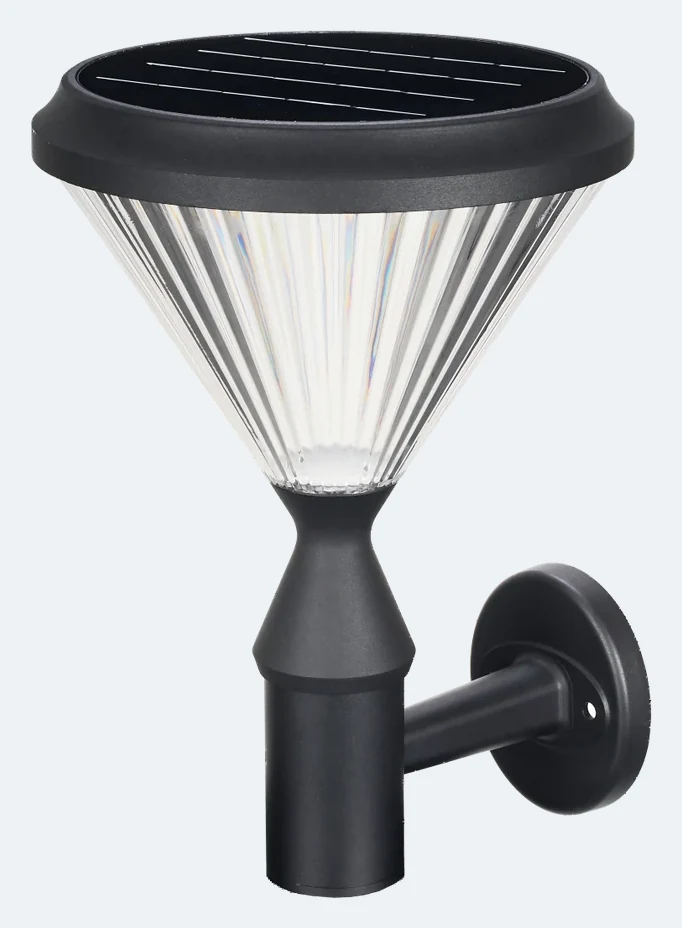
What a solar wall light is good for
Use wall lights for entrance doors, porch columns, facade accents, corridor walls, stair edges, hotel and villa exteriors, and signage. They are good at vertical surfaces and short throw distances. They are not good at lighting a road, a car park or a large yard; for those, use a post-top, bollard or street light.
The integrated panel is the constraint. A wall light needs a panel face that sees several hours of direct sun. On a north-facing facade, under a deep balcony, or behind a mature tree, the fixture will light for a while and then fade. Check the sun path before choosing the position, not after the holes are drilled.
Mounting height by use
Entrance door: 1.8–2.2 m. High enough to clear the door swing and most heads, low enough to put light on the threshold and the visitor's face without shining into their eyes. Mount on the latch side or both sides of a double door; avoid directly above the door if the panel would be shadowed by the lintel.
Facade accent: 2.2–2.5 m. A higher position gives a longer vertical wash and keeps the fixture out of reach. Above 2.5 m, cleaning and battery access become a ladder job; only go higher if the design genuinely needs it.
Step or low-level accent: 0.8–1.2 m. Useful on garden walls, stair sides and low columns. Keep the light shielded and aim it down; at this height an unshielded source is directly in the pedestrian's eye.
Corridor: 2.0–2.4 m, spacing 3–4 m. A corridor reads as a line when the pools overlap. Wider spacing turns it into a series of bright spots with dark gaps; tighter spacing costs more fixtures but gives an even wash.
Wall material and fixing
The fixture is light, but the lever arm is not. A 300–450 mm deep wall light on a rendered facade puts a surprising pull on the top fixings, especially in wind. Match the anchor to the material, and never rely on the render alone.
| Wall | Fixing approach | Watch out for |
|---|---|---|
| Concrete / masonry | Nylon or mechanical anchor, depth per anchor spec | Hollow blocks; hit a block core and the anchor spins |
| Brick | Masonry anchor into the brick body, not the mortar joint | Soft or frogged bricks; drill slowly to avoid cracking |
| Render / EIFS | Find the structural substrate; use a stand-off bracket or backing plate | Render alone cannot carry the fixture; thermal insulation is not structure |
| Timber cladding | Stainless screw into blocking or a stud, with a sealing washer | Check for a stud; avoid fixing only into thin cladding |
| Metal sheet | Self-drilling screw with a rubber washer, or a rivet nut | Oil-canning, vibration and galvanic corrosion |
| Stone | Bracket to the structural wall, or a chemical anchor designed for stone | Do not drill a thin stone veneer; it will spall |
Before drilling, check for concealed cables, water pipes and conduit. A wall light is often placed where a former fixture or switch was, and the cable route may not follow the new bracket. Use a detector, and isolate the circuit if there is any doubt.
Glare: the part that decides comfort
At eye level, a small bright source is uncomfortable even at low output. Choose a fixture with a shielded or downward optic, and aim it at the surface you want to reveal, not at the viewer. A wall light facing a door, a window or a mirror-like facade will produce reflected glare; a light washing down the wall will not.
Keep one colour temperature along a facade. Mixing 3000K and 6500K on the same elevation looks accidental, even when the fixtures match. If the light has a PIR sensor, point it along the approach path rather than at a passing road, or it will switch on all night.
A model ladder from the ZC-BD range
The table groups the range by form factor and battery. The catalogue lists these models as high-CRI or high-output; it does not publish a single lumen figure for every variant, so the selection below is by shape, panel and battery, not by an invented lumen number.
| Model | Panel | Battery | Size | Best for |
|---|---|---|---|---|
| ZC-BD4001 | 5V / 4.5W | 3.2V / 8000mAh | Ø260 × H310 mm | Round facade accent, entrance |
| ZC-BD3001 | 5V / 4.5W | 3.2V / 6000mAh | Ø230 × H275 mm | Compact porch or column |
| ZC-BD2106-1 | 5V / 4.5W | 3.2V / 8000mAh | Ø240 × H450 mm | Tall bracket, curved arm |
| ZC-BD1104 | 5V / 4.5W | 3.2V / 8000mAh | Ø260 × H300 mm | Wide facade wash |
| ZC-BD1006 | 5V / 5W | 3.2V / 8000mAh | 235 × 150 × H130 mm | Rectangular modern facade |
| ZC-BD1008 | 5V / 4.5W | 3.2V / 6000mAh | Ø237 × H80 mm | Low-profile step or wall accent |
| ZC-BD6001 | 5V / 5W | 3.2V / 6000mAh | 200 × 200 × H240 mm | Square lantern-style entrance |
All models in the table are IP65. The battery difference (6000 vs 8000mAh) matters on a shaded facade or in winter; the larger battery gives more reserve, but it cannot compensate for a panel that never sees the sun.
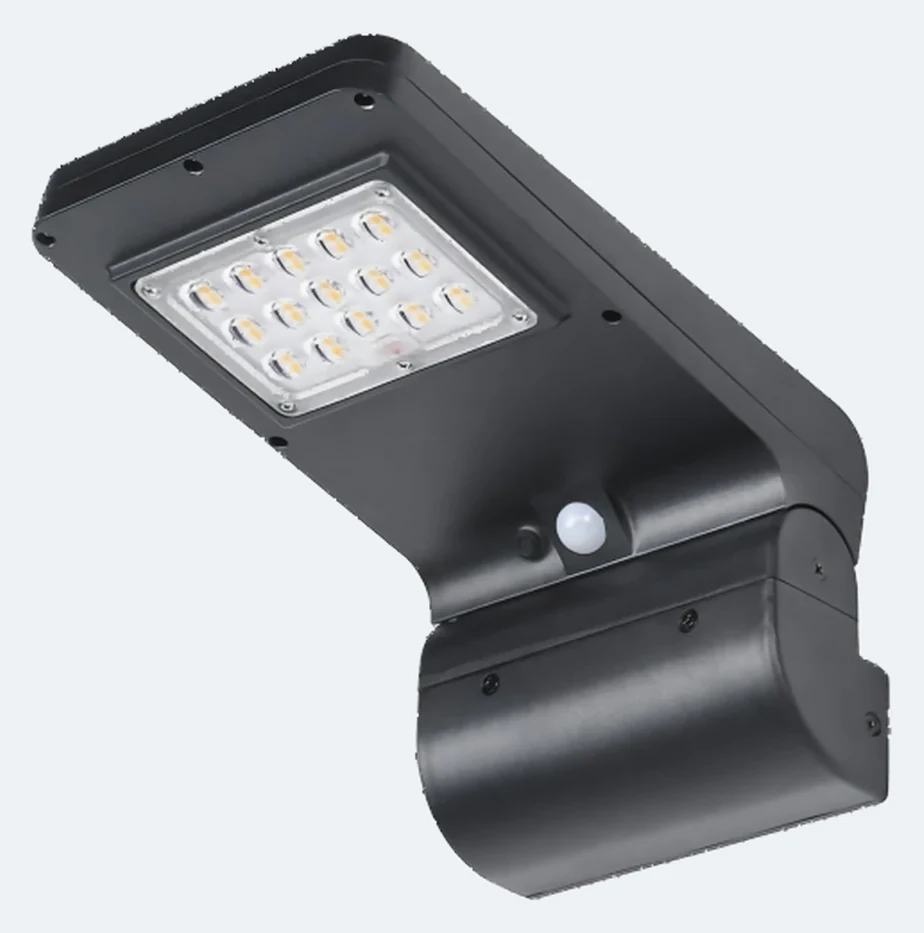
A simple entrance layout
For a 1.1 m wide single door, mount one light on the latch side at 2.0 m, with the panel facing the equator and the optic aimed down at the threshold. For a double door, use two lights at 2.0 m, one on each side, or one centred light if the lintel does not shade the panel. For a 12 m corridor, 2.2 m mounting and 3.5 m spacing gives four fixtures and an overlapping wash; 5 m spacing would leave visible dark bands.
If the wall is render over insulation, plan a stand-off bracket or a backing plate before ordering. The fixture is small; the fixing is the part that decides whether it stays straight for ten years.
What to send for a wall-light layout
- Wall material and build-up (render, insulation, brick, stone, metal).
- Mounting height and the surface to be lit (door, facade, step, corridor).
- Wall orientation and the hours of direct sun the panel will see.
- Number of fixtures and spacing, or the length of the facade/corridor.
- Any obstruction: balcony, eaves, tree, neighbouring wall.
The full range is on the solar wall sconces page. For garden and path lighting, see the solar garden lights hub; for post-mounted lighting, see the solar post-top lights guide.
Frequently asked questions
How high should a solar wall light be mounted?
Entrance doors: 1.8–2.2 m. Facade accents: 2.2–2.5 m. Steps and low accents: 0.8–1.2 m. Corridors: 2.0–2.4 m with 3–4 m spacing. The right height puts light on the surface, not in the eye.
Can I mount a solar wall light on rendered insulation?
Not into the render alone. Find the structural substrate and use a stand-off bracket or backing plate. Render and insulation cannot carry the fixture or the wind load.
Why does my wall light glare?
Usually because an unshielded source sits at eye level or faces a door/window. Choose a downward optic or shield, aim it at the wall, and keep it out of the direct sightline from the approach.
Will a solar wall light work on a north-facing wall?
It can, but the panel needs direct sun for several hours. On a north-facing facade in the Northern Hemisphere, expect weak charging; consider a different wall, a remote panel, or a model with a larger battery.
How far apart should corridor wall lights be?
About 3–4 m for a continuous wash at 2.0–2.4 m mounting. Wider spacing saves fixtures but leaves dark bands that the eye notices immediately.
Get the wall light height and fixing right
Send wall build-up, mounting height and the surface to light. We will return a model, a fixing approach and a layout.